Cattle Panel Greenhouse Construction
The Challenges
When we decided to build our greenhouse, we aimed to create a cozy spot for our plants to thrive, protect them from the unpredictable weather, and keep the deer at bay. It was important to us that our greenhouse could stand the test of time and adapt to our needs, including being tall enough for anyone to walk around comfortably. We focused on using materials that are kind to our planet and our wallets. Here’s a breakdown of what we considered to make our greenhouse a perfect fit for our gardening journey.
- More Heat: Essential for growing heat-loving plants like peppers, tomatoes, and okra, especially in Montana’s cooler summers.
- Climate Change Buffer: Protects against unpredictable weather, including late spring frosts and early fall frosts.
- Deer Protection: Keeps deer away from plants effectively.
- Longevity: Ensures the greenhouse remains a valuable asset for years.
- Structural Challenges: Addresses failures seen in neighbors’ setups and local snow load collapses.
- Height Considerations: Accommodates taller individuals, improving accessibility and usability.
- Environmental Considerations: Utilizes recycled materials to minimize environmental impact while adhering to budget constraints.
- Seasonal Flexibility: Allows for removing the covering in summer to integrate with garden watering, reduce costs, and extend the covering’s lifespan.
Diving into the world of greenhouse building meant doing our homework. We scoured various resources, from books to YouTube videos, to gather all the necessary insights for our project. Our findings paved the way for a well-informed design:
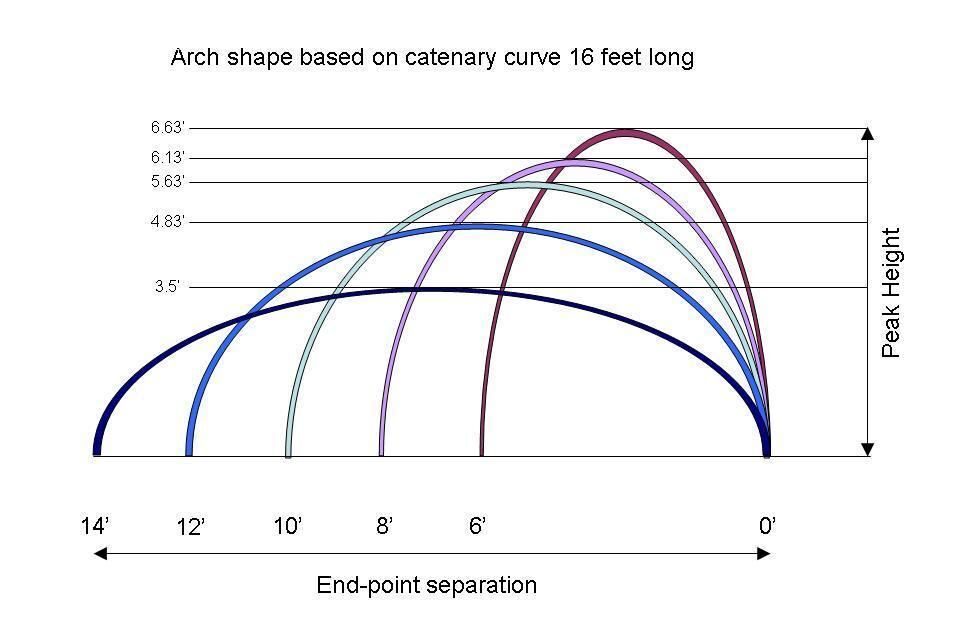
- Elevating the structure by a foot increases headroom and adds ventilation where the plants are.
- Avoiding PVC tubing for plastic sheeting due to its damaging off-gassing.
- Implementing bracing techniques for structural integrity and extra planting space.
- Using rope or twine over the sheeting to combat wind damage.
- Seasonally removing the plastic sheeting to nearly double its lifespan.
Our research highlighted the lack of information on wind-proofing, a critical factor for our windy Montana site, leading us to innovate our approach.
Construction
To cover the existing rows in our garden, we opted for four 50″ x 16′ cattle panels, which are each 200 inches or 16′ 6″ long and 10 feet wide. This configuration matches our current 17-foot-long garden beds. To support the cattle panel greenhouse, we will raise it and utilize 18 cinder blocks and angle iron, with the structure running east-west. Each longer north/south wall will have four cinder block supports, and there will be an additional four cinder block supports in the center of the greenhouse to aid with snow load.
Thanks to our fantastic cement mixer, the concrete setup was a breeze. We owe a big thank you to Bill Bogart for the cement mixer! The entire process of setting up and pouring the concrete took us a few hours. We used an 80-pound bag of mortar and gravel we had on hand, which took two days to thoroughly dry.
The Foundation
To prevent the wind from pulling the angle iron out, we utilized old bed frames and used their angle iron. Each leg of the frame was inserted into a cinder block.
Cinder Foundation Blocks Note: If I had to do it over again I would put the post in the middle instead of on one end of the cinder block. Then the angle of the angle iron could be changed easily. And bedframes can be very hard to drill into. We were lucky, we only had to drill a few holes.
Setting the Cinder Blocks
We set the cinder blocks deep enough to allow us to plant above them, which enables us to display the garden soil that we have worked hard to develop.
Setting the posts took us three days due to a few distractions. During the process, I decided to add roughly 8 inches of compost from our compost pile, which was easier to incorporate using the backhoe at that moment than to wheel it in later.
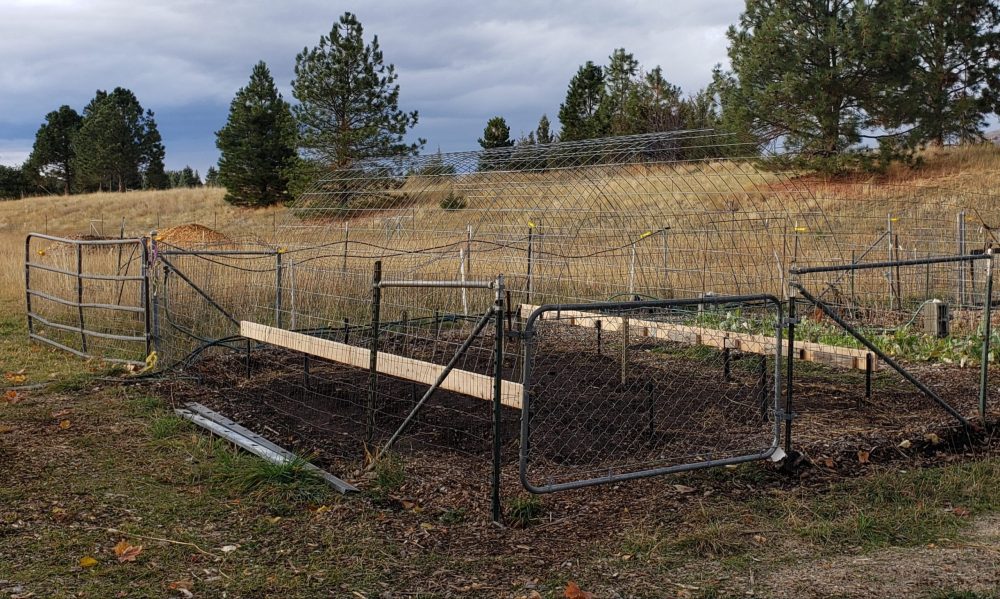
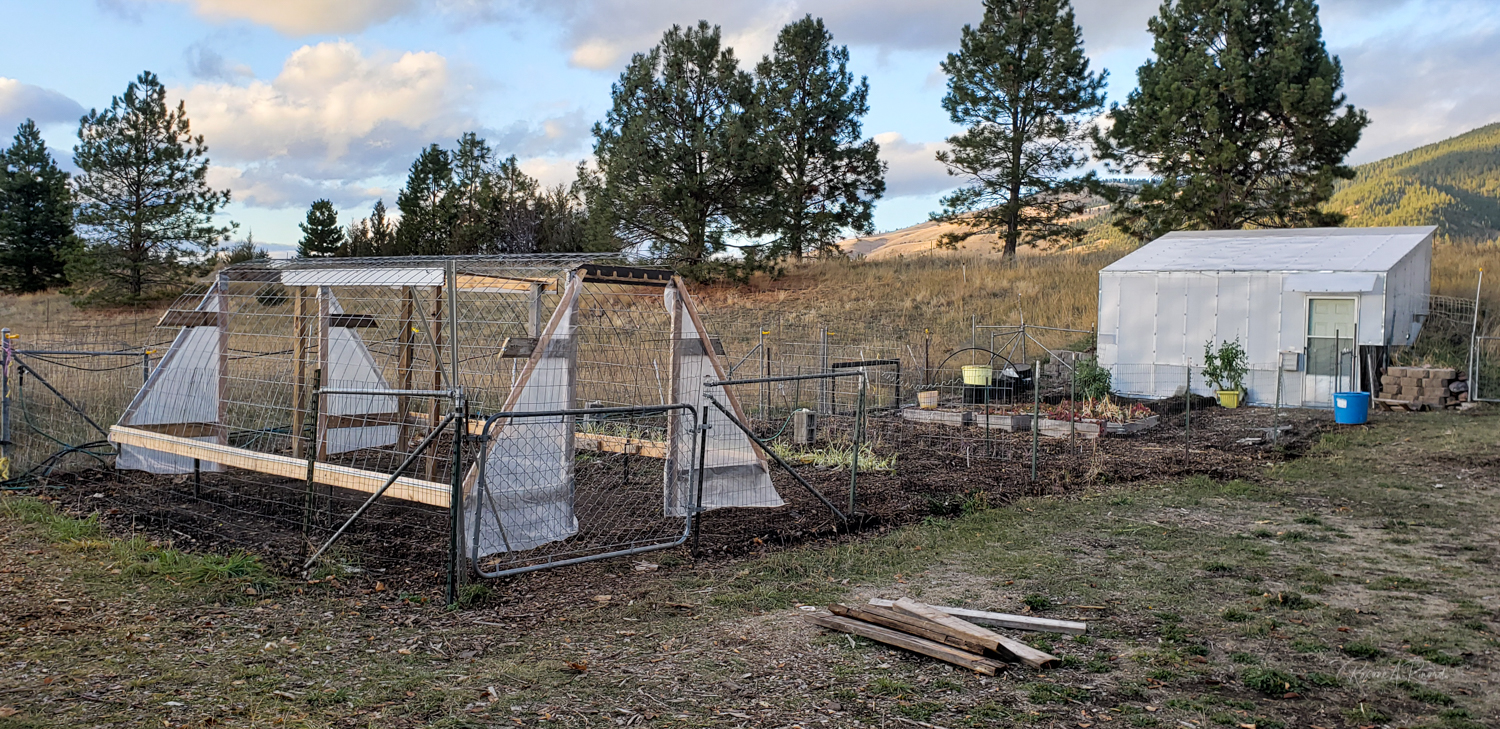
To hold our cattle panels up, we utilized 8′ 2×6 along the north and south sides and then erected the east and west walls. Our anticipation is that the west wall will bear the most strain as it lacks any buffer, unlike the north, south, and east walls. To the center panel, we added Solexx, while we used easy-to-replace plastic for the rest of the structure. Fortunately, we had sufficient material remaining from our pit greenhouse to complete the west side and a portion of the door on the east side.
Summer Time View
Finished Cattle Panel Greenhouse
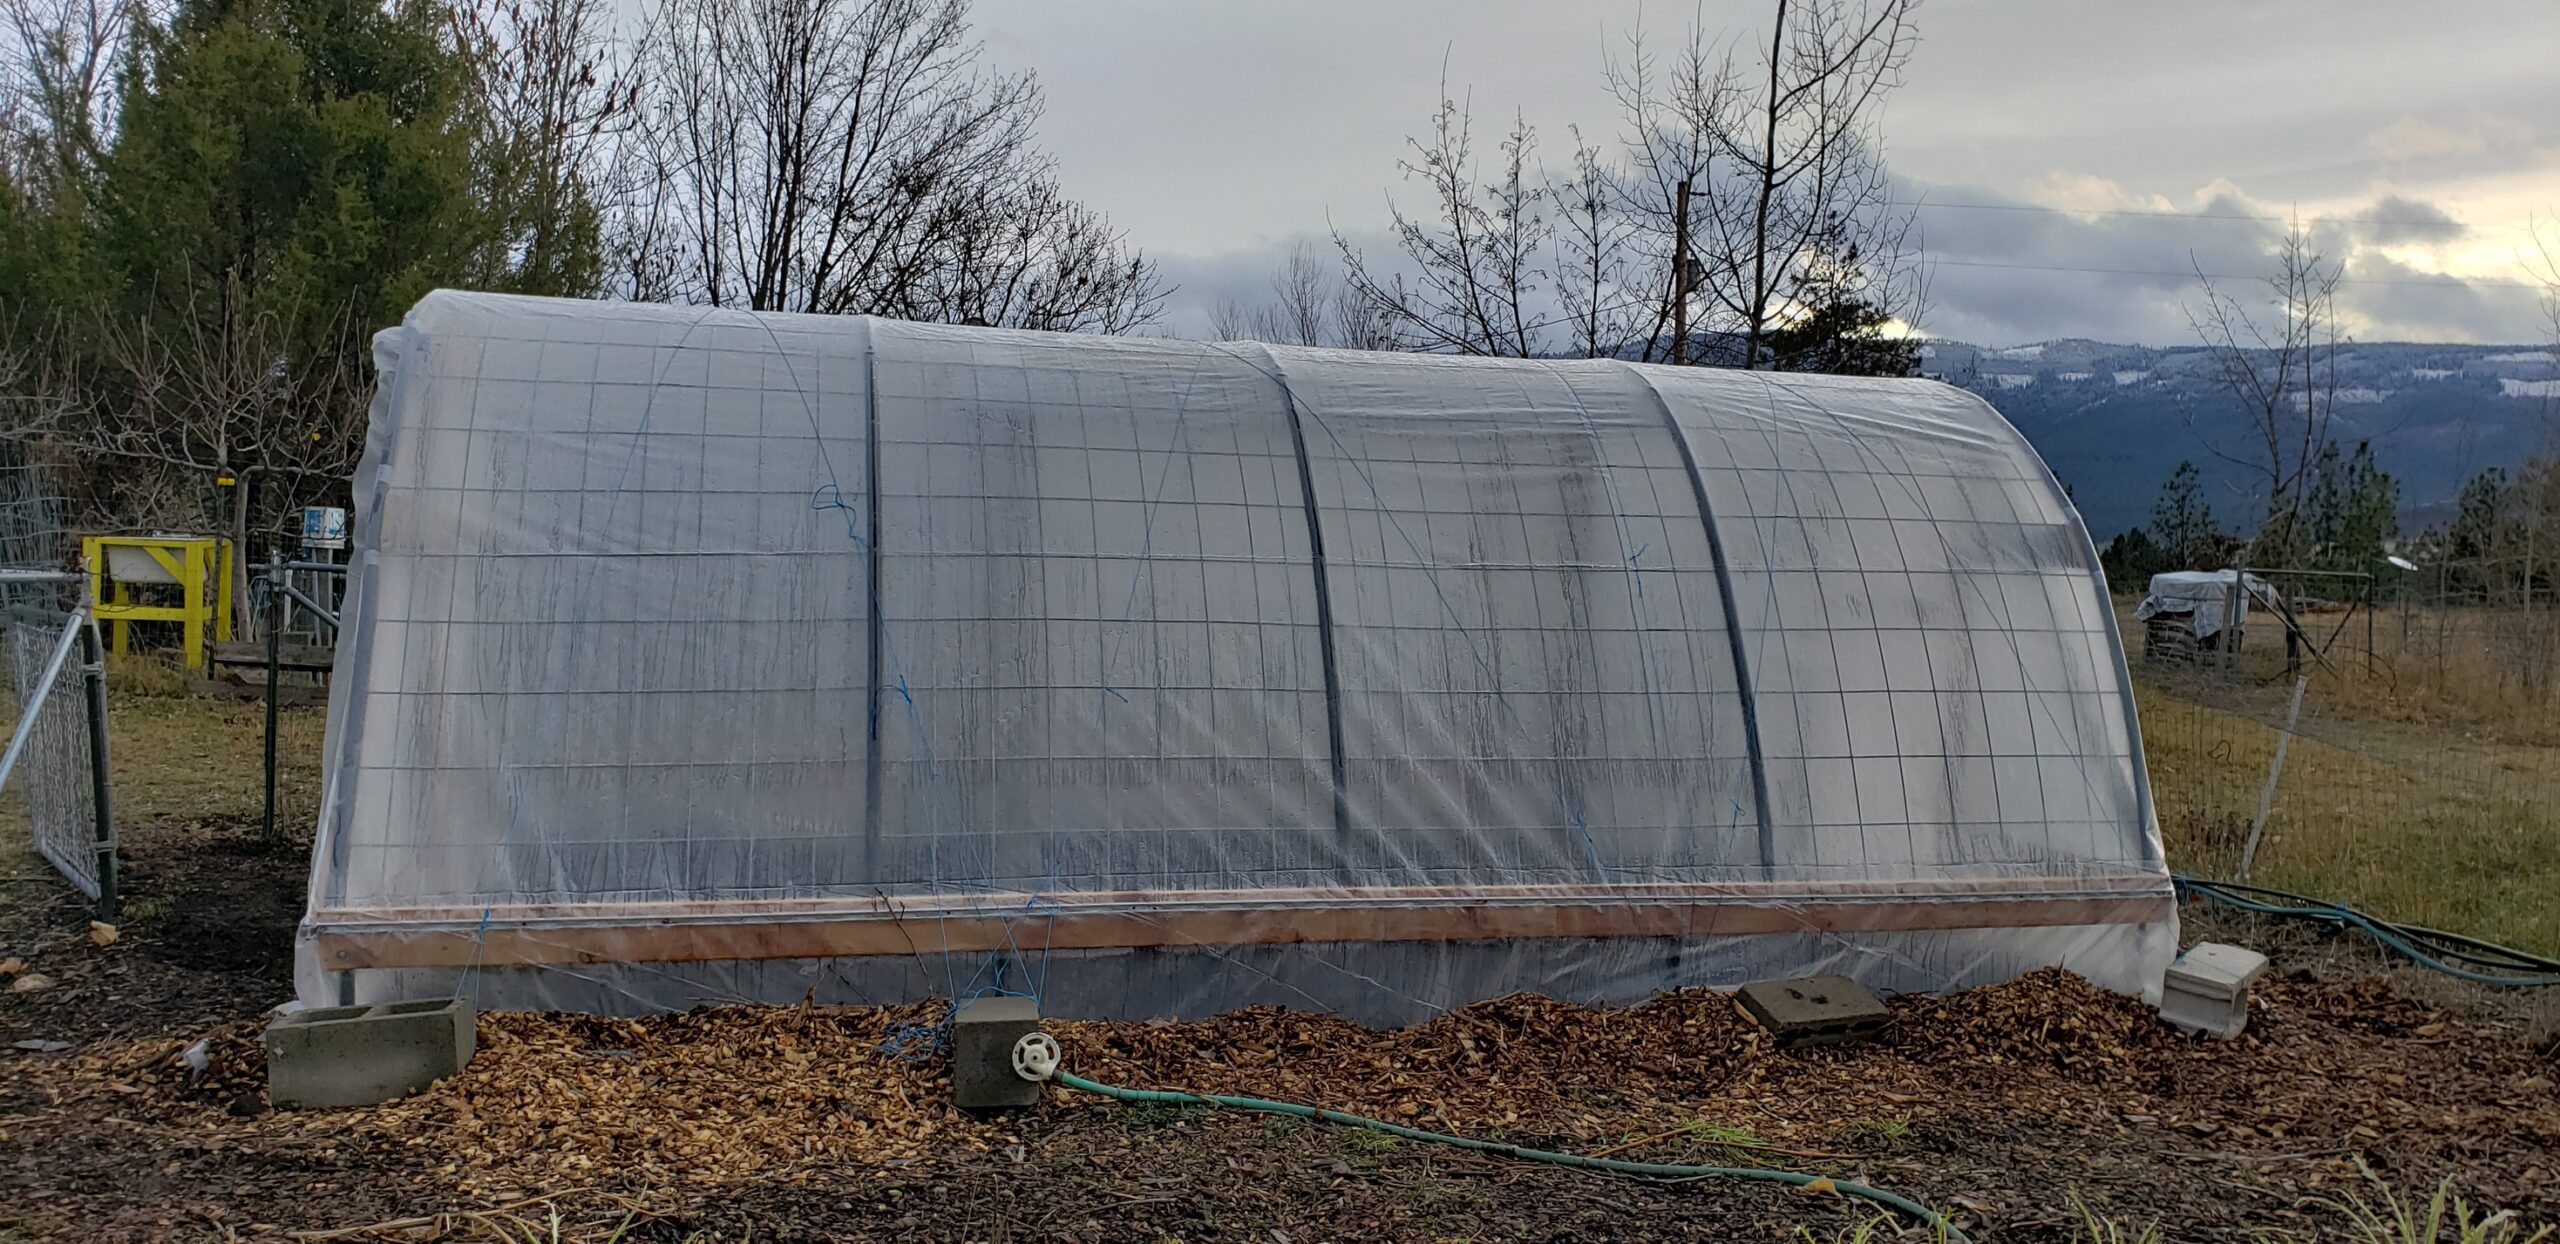
On the last warm and windless day of November 2021, we added the plastic covering to the greenhouse. We made sure to install the plastic when the temperature was at least 60 degrees, which is considered the ideal condition. We ensured that the greenhouse was adequately sealed and ready for the upcoming storm, which was forecasted to bring high winds. Before covering, we added pipe insulation over the cattle panel seams to serve as a buffer between the plastic and the tie wire we used to connect the panels. The wires were spaced eight inches apart, and we cut the pipe insulation 50% through using a small saw to make it easy to remove in the summer.
To keep the plastic in place and prevent it from rippling in the wind, we added baling twine that was crisscrossed over the top of the greenhouse. This was in addition to the wiggle wire used to hold the plastic in place. This technique proved effective in holding the plastic in place and preventing any damage. The plastic remained intact despite the high winds.
Inside the Cattle Panel Greenhouse
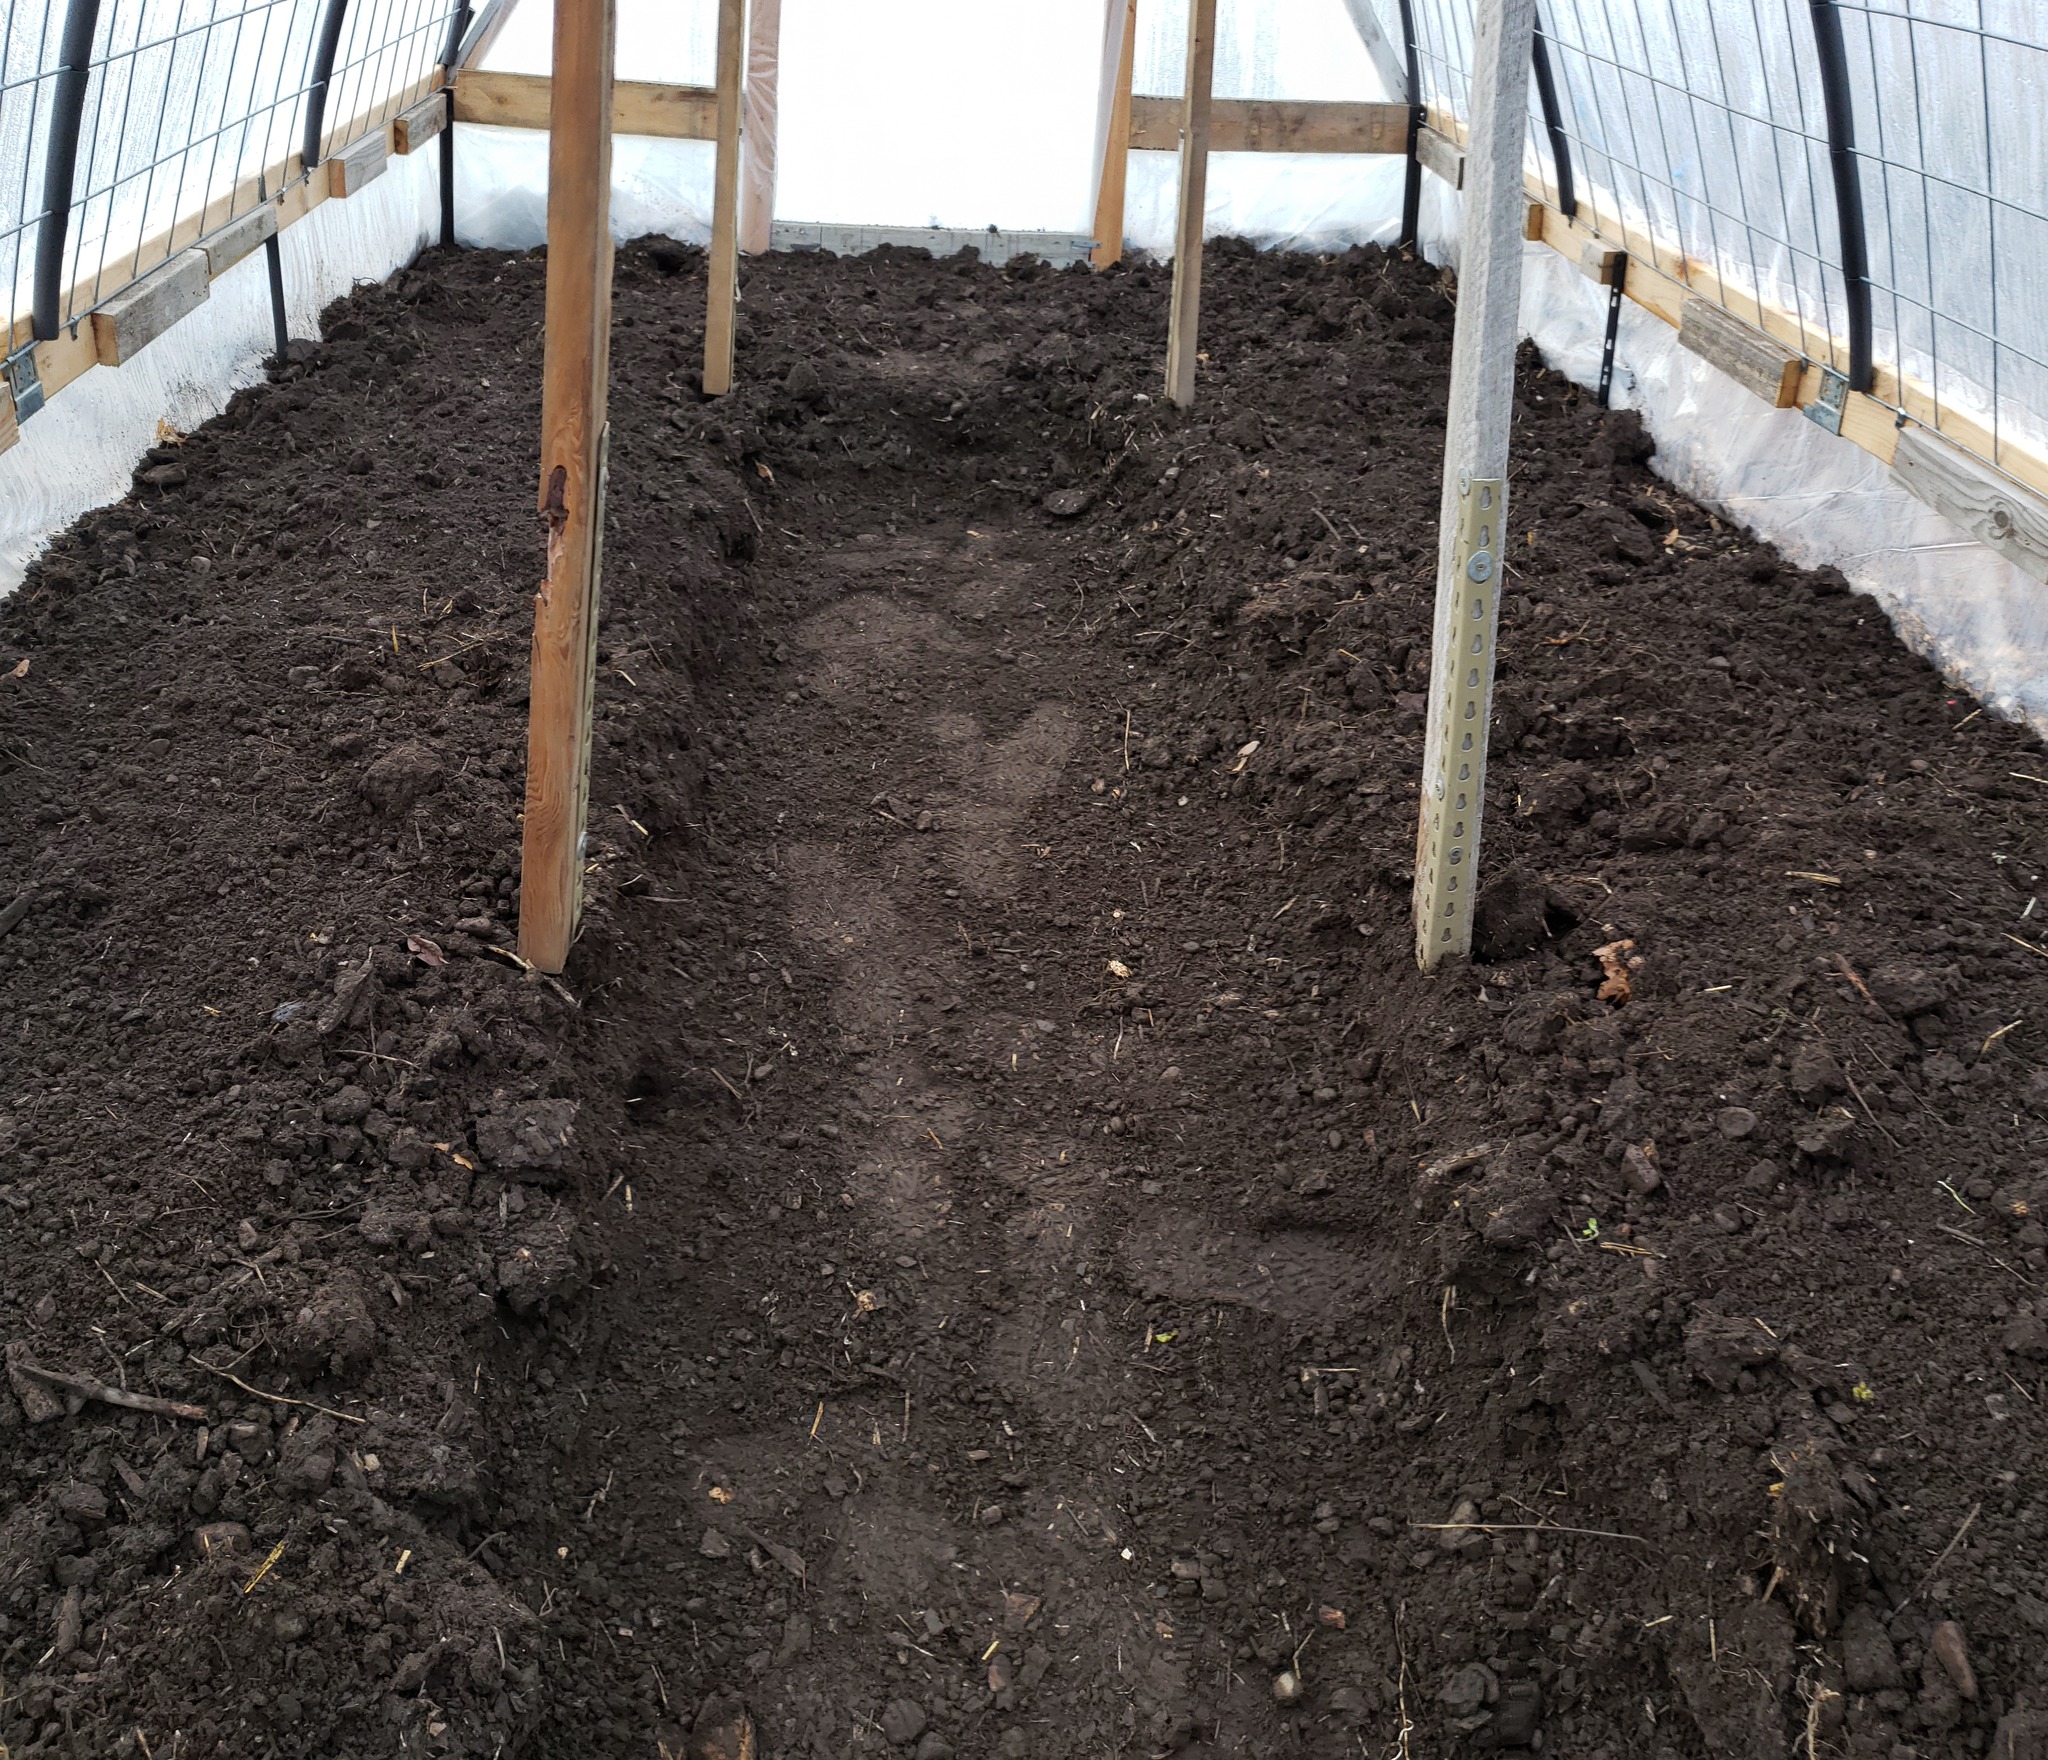
Initially, I planned to have three rows inside the greenhouse. However, by creating the snow support, I inadvertently limited my options for where the rows could be. Therefore, to avoid wasting precious soil, I removed the topsoil that I had added in the aisle and relocated it to the sides. This resulted in about 10 inches of exquisite and fertile soil.
The greenhouse is now showing signs of life, and I certainly do not want to be pulling weeds during the winter. Consequently, my plan for tomorrow is to lay down some newspaper to suppress the growth of weeds.
Next steps:
- Add sensors to monitor soil temps and air and humidity temps.
- Create a webpage so I can monitor from anywhere
- Create the center path
