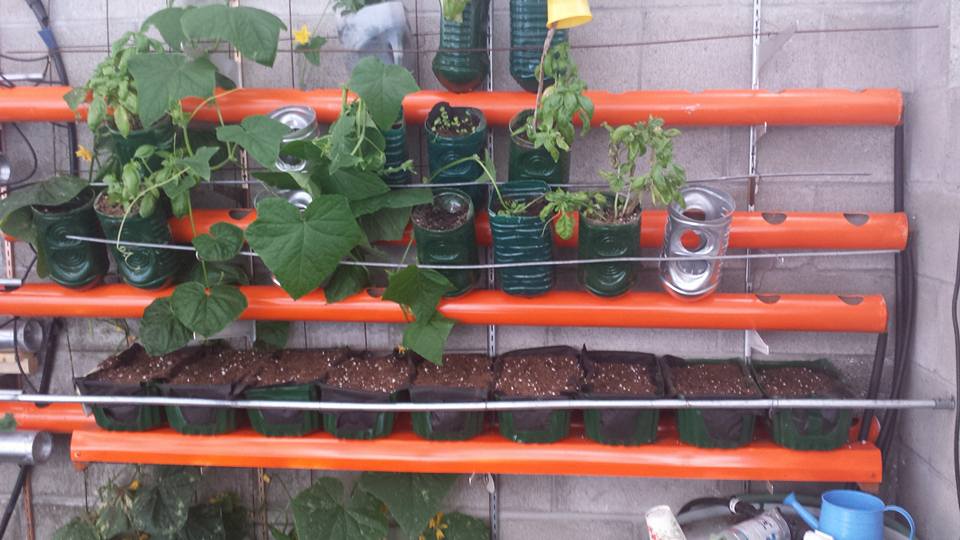
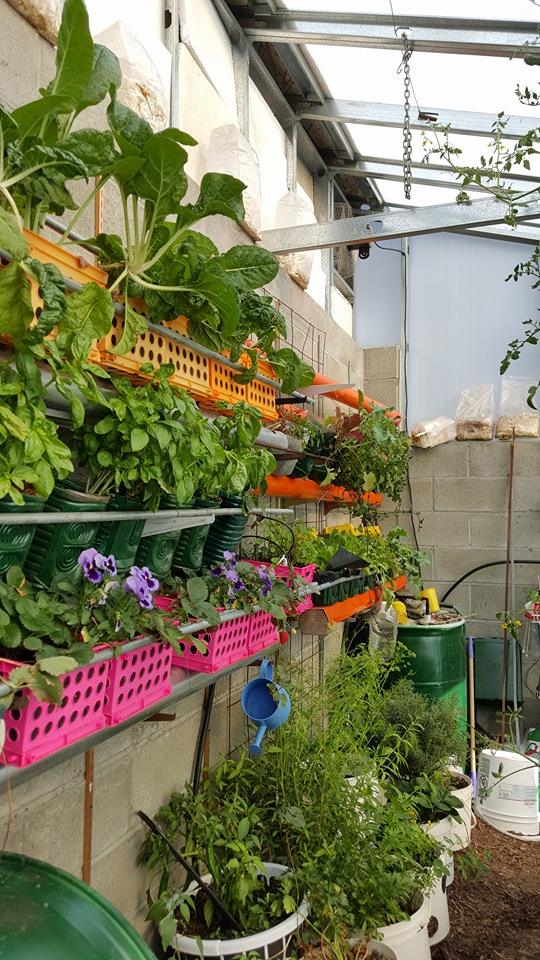
The wall of green in the greenhouse is made of 3″ pvc pipe and recycled milk and juice bottles. Is it amazing how pretty recycled containers can be when there is a pattern involved!
Spacing was set to the width of the bottles used. 7″ gave me enough space to have the bottles help hold each other up and to give the plants room to grow. This is the first year, so we will see what happens later in the season.
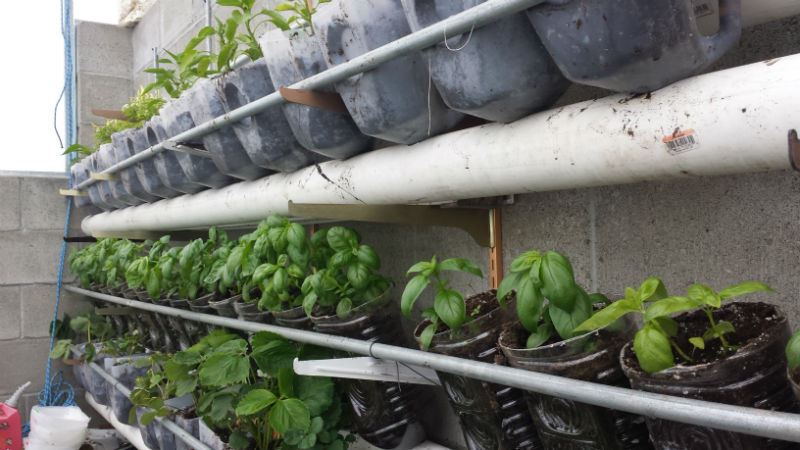
Measuring started from the top down for the greenhouse shelving. Keep in mind that the goal for the greenhouse is to put a inner greenhouse up for the colder months to help with heat. The top row will come down before the ‘inner roof’ goes up.. The peppers on the top row will pass this mark. But peppers are warm loving plants and should do great during the summer. When the weather changes historically they fade the fastest. They will be replanted with lettuce.
From that point down it was a matter of the height of the bottles and the plants in that space. Pruning the basil to keep it about 2 feet in height. The strawberries are short, so they could be about the same height at the basil. Experiment with your plants and situations.
Pots
Our considerations included:
- Recycle as much as possible.
- We also wanted to keep each plant separated so it can be easily pulled from the system, pruned, sprayed or replaced as necessary.
- Type of root growth the plants need
- Easy to work with – we have tried milk jugs (seen in some of the pictures) but the plastic is so weak it makes them difficult to deal with.
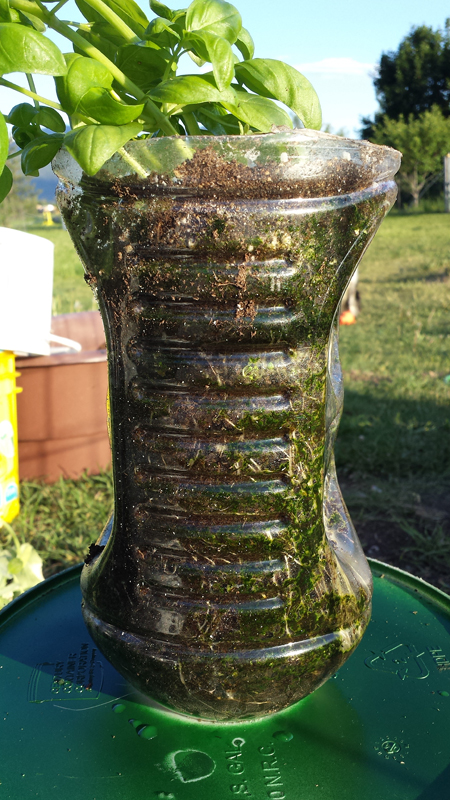
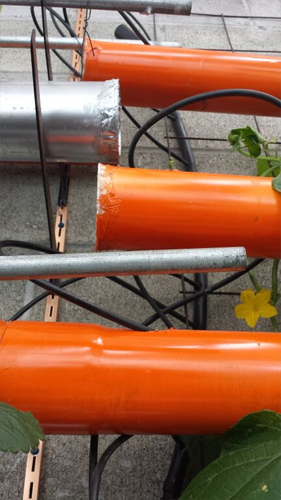
For upright plants such as peppers and basil we are currently using juice bottles that have been painted. In the first round, the pots were not painted.
We learned that the sun and moisture promoted algae growth. The algae uses the nutrients that the plants would normally use. We painted the pots and the algae growth quit. It was really interesting to see that the roots and the algae both went to the same side of the pot.
Note: There are no air holes in the first round of pots. We added air holes to help with the moisture issue.
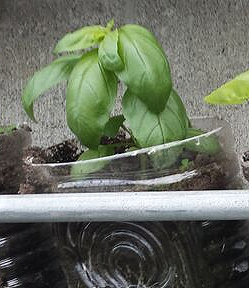
Lettuce and Strawberry Pots

Height is not needed for the lettuce. Plus the pipe above gets in the way, it would be nice to have a pot that came forward instead of up. For this we used plastic lettuce containers we had saved.
We did cut air holes in each container and lined with garden cloth. We found it easier to take one long strip of garden cloth and go from pot to pot. If necessary we can always cut the cloth to pull one planter out.
We have a 3″ pvc pipe in the back and an old rain gutter turned upside down in the front. This helped level out the planters. This is our first round of planting in this style of pot, so we shall see how it goes!

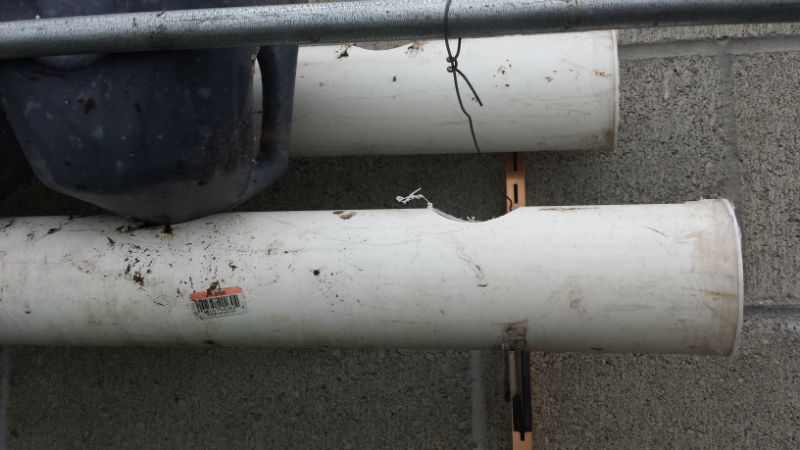
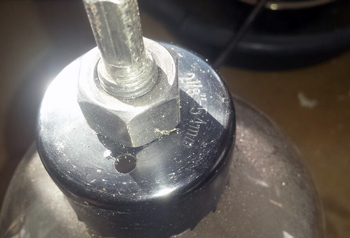
The 3″ pvc pipe is held up by metal shelves attached to the concrete wall. Each pipe has holes drilled in to allow the top of the juice bottles to reach down for water. The hole size was determined by the pots we used. We have a hole drill set. We experimented with the size until we had a hole that would just allow the juice bottle to fit in. We did not want extra light into the pipe. We used 2 1/8 in holes for the pots.
Water
Watering is a huge consideration.
- Automated so we can take a vacation
- This is a year round greenhouse. Plants need to be watered in the winter as well. We do not have running water to the greenhouse. So water storage is important.
- pH of the water is important.
Step 1: Water Source We have several 55 gallon drums that we keep water in during the winter. Water helps to even out the temps year round. We will be using these containers to hole water and to drain water from the tubes.
Step 2: Water into the tube. We have a pump on hand to handle moving water to the tubes. Each tube has its own feed. This makes moving the tube or taking a tube out of the system much easier. Water is fed through a 1/2 main line in the middle of the room. From this line 1/4 irrigation tube feeds each tube.
Step 3: Each tube can be level or tipped depending on need. If plants like lots of moisture then the tube is kept level. If less is desired then we tip the tube and plant in the higher end of the tube, keeping moisture loving plants on the lower end of the tube. We are still learning!
Step 4: Drainage is handled by a 1/2 drain that goes back into the 55 gallon drum.
Wicking
Each bottle has wick made of ether old pillowcase or old jeans. The pillow case wicks in the first round were made of jeans or a pillowcase. The jean wicks did not last long, less than 2 months.
July 2015
The plants were growing and looking fantastic. Then suddenly a plant would wilt and then die. It was heartbreaking. After talking to the Rain Gutter Gardening Group on Facebook it was determined that they were to moist.
Plants ‘cup’ when they get to much moisture. The new plan is to tackle this situation from two directions. Tipping the pipes so that they are not level will put one area that receives water twice a day when the system run. The other is to add air holes which will help with moisture release.
Individual Plants
Each plant can be removed from the system relatively easily. This allows me to remove a plant that may be under stress or to replant pots for the fall garden.
Sept 2015
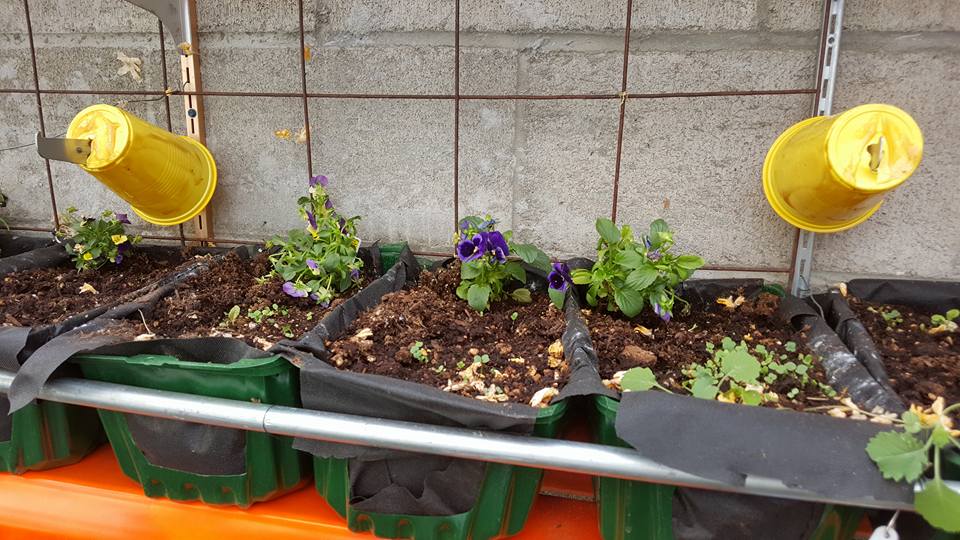
I added tangle foot to yellow cups to help capture the aphids. And it worked like a champ. I even caught a few moths who were able to sneak in to the greenhouse. The lettuce is growing great and I am looking forward to the fresh lettuce this winter.
Oct 2015
I pulled the cucumber plant that was hiding the lettuce from the sun. The shelves look great and the plants are growing! The water jug in the far corner was painted green to keep the sun out.

No responses yet