Wicking Bucket
Introduction to Wicking Planters
Wicking buckets are an innovative gardening solution designed to conserve water and simplify plant care. By utilizing a reservoir at the bottom of the bucket, water is drawn up through the soil via capillary action, directly to the roots. This method ensures that plants receive consistent moisture, promotes healthy growth, and is especially beneficial in areas where water is scarce. For gardeners, wicking buckets offer the freedom to reduce frequent watering, making it easier to maintain a garden, even during the hottest months, providing a sustainable and efficient way to nurture plants.


Wicking Bucket
Tailoring to Plant Needs
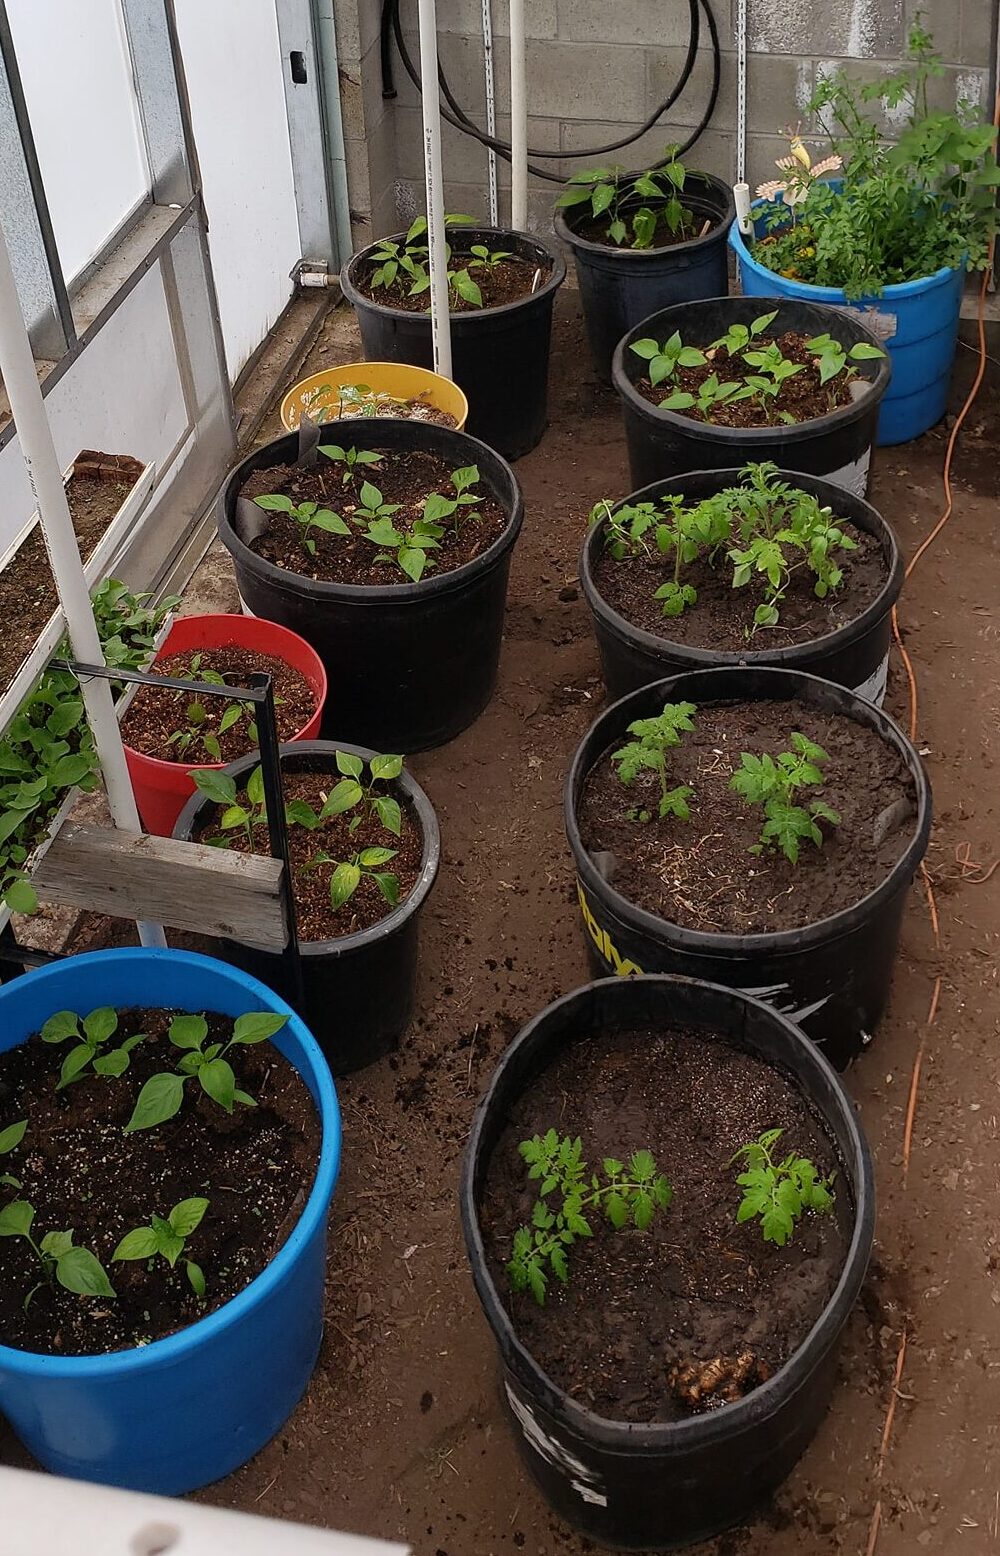
Selecting the correct size for your wicking container is crucial for accommodating the specific needs of your plants. From small 1-gallon juice bottles, ideal for individual plants or herbs, to large 35-gallon buckets that can support multiple plants like five tomatoes or peppers, the size impacts how effectively the system can support plant growth. For larger containers, companion planting, such as basil under tomatoes, enhances the benefits by supporting mutual growth and pest control. The key is to match the container size with the plant’s root system and growth potential, ensuring each plant has enough space to thrive while benefiting from the wicking system’s efficient water delivery.
Drilling the Water Reservoir Hole
Creating the water reservoir starts with drilling a hole one-third of the way up from the bottom of the container. This step is essential for containers of 2 gallons or larger. The hole marks the top of the water reservoir, allowing excess water to drain, ensuring the soil remains moist but not waterlogged. Safety is paramount when drilling, and adding a screen or a piece of irrigation pipe into the hole can prevent mosquitoes from entering the reservoir. For smaller containers like 1-gallon juice bottles, using a wick to draw water up into the soil from a 3″ pipe can achieve a similar effect, perfectly balancing moisture levels for healthy plant growth.
Adding Water Reservoir Fillers and Garden Cloth
Ideal fillers include yogurt containers or any food-grade plastic to keep the setup light and safe for growing edible plants. The goal is to maximize water storage and support the soil above. Gravel is another option, though it increases weight. Cover these fillers with garden cloth to prevent soil from mixing into the water, ensuring a clean reservoir and efficient water usage. Remember to integrate a column of soil that extends to the bottom of the bucket by placing the garden cloth into an inverted holed yogurt container, allows water to efficiently wick up to the soil, maintaining optimal moisture levels for healthy plant growth.
The Science of Wicking
The science of wicking is rooted in the soil’s ability to draw water from the reservoir through capillary action, directly to the roots. Achieving this requires a specific soil composition— a blend of homemade compost, peat moss, dolomite (to adjust pH), and vermiculite to ensure the soil is light and airy, facilitating easy root growth. A balanced mix, occasionally fortified with a 10-10-10 fertilizer at different levels for larger buckets, is vital. Conducting a home soil test can help tailor the mix to your plants’ needs, ensuring a healthy, productive environment in this concentrated growing space.
Soil Mix and pH Adjustment
Creating the ideal soil mix involves blending homemade compost (rich in nutrients from aged chicken manure, straw, and kitchen scraps), peat moss (for structure), dolomite (to neutralize the peat moss’s acidity), and vermiculite (to keep the mix light and prevent compaction). This combination supports healthy root growth and optimal wicking. Testing your soil at home can guide you in adjusting this mix to suit your specific plant needs, ensuring the soil environment is conducive to growth without over-concentration of any component.
Here is a more formal recipe, feel free to adjust to your needs.
1. Peat Moss: Start with peat moss as the base. It’s great for moisture retention.
2. Perlite or Vermiculite: Add equal parts perlite or vermiculite to ensure the soil is aerated and has good drainage. This also helps prevent the soil from becoming too compacted.
3. Compost: Mix in a good amount of compost—about one-third of the total mix. Compost will provide the essential nutrients the plants need to thrive.
4. Ground Limestone: Since peat moss is acidic, add ground limestone to adjust the pH. About a cup of limestone for every cubic foot of your peat moss mix should do the trick. Mix it thoroughly to ensure an even distribution. Remember strawberries love an acidic soil. If I’m raising acidic plants I leave the Limestone out.
5.Fertilizer (optional): For an extra boost, mix in a slow-release fertilizer (10-10-10) at the lower level. This will help feed the plants over time.
To mix everything:
– Use a large tarp or mix directly in a wheelbarrow. Combine the peat moss, perlite or vermiculite, and compost. Sprinkle the limestone evenly over the mix, then turn the components over several times with a shovel or rake to ensure everything is evenly mixed.
– Mixing the fertilizer in lower in the pot ensure the plant will have fuel to grow when they get larger and not burn younger plants.
The bottom 1/3 is the water reservoir. Once the mix is ready, I’ll fill the top two-thirds of the wicking bucket.
The secret of success
When assembling your wicking bucket, including a peat moss layer within the soil mix significantly enhances moisture distribution, essential for effective wicking. This approach ensures optimal hydration for plant roots.
Adding a 1″ PVC pipe through the garden cloth into the bucket, cut at an angle to prevent blockage, facilitates easy watering and maintenance, while also preventing mosquitoes if you remember to cap it! We enrich the mix
with 10-10-10 fertilizer, because we are in a nitrogen-deficient area, and water the soil from the top initially to establish the wicking process.
Reminders:
When first starting plants, lightly water from the top until they are established.
Cover the input and output areas of water to deter mosquitos.
Make sure the watering pipe is not flat against the bottom of the pot.